
Create Amazing Pop Noodles 3D Lettering with Adobe Photoshop Brushes
Create fantastic 3D tube texts. In this tutorial we’ll see how to create this style of lettering, with the Mixed Adobe Photoshop Brushes and Pen Path tools. Watch the video tutorial How to Create Amazing 3D Tube Text with Photoshop Brushes.
Preparing the 3D Noodle
Firstly, start by creating a 3,508px by 2,480px document with a resolution of 300ppi.
Create a gradient in the Background layer with the Gradient tool; select Radial Gradient from the properties bar, as for the type of Gradient choose a gradient with three colours to generate variation in the edges.
From the Gradient selection window you can load more gradients, once you have marked the pack of gradients to be added, you must select the Append option, otherwise it will replace this new group with those that already exist and lose all those stored, so please be careful.
Drag from the curser from one corner to the other to generate a wide Gradient as a background; turn off the layer.
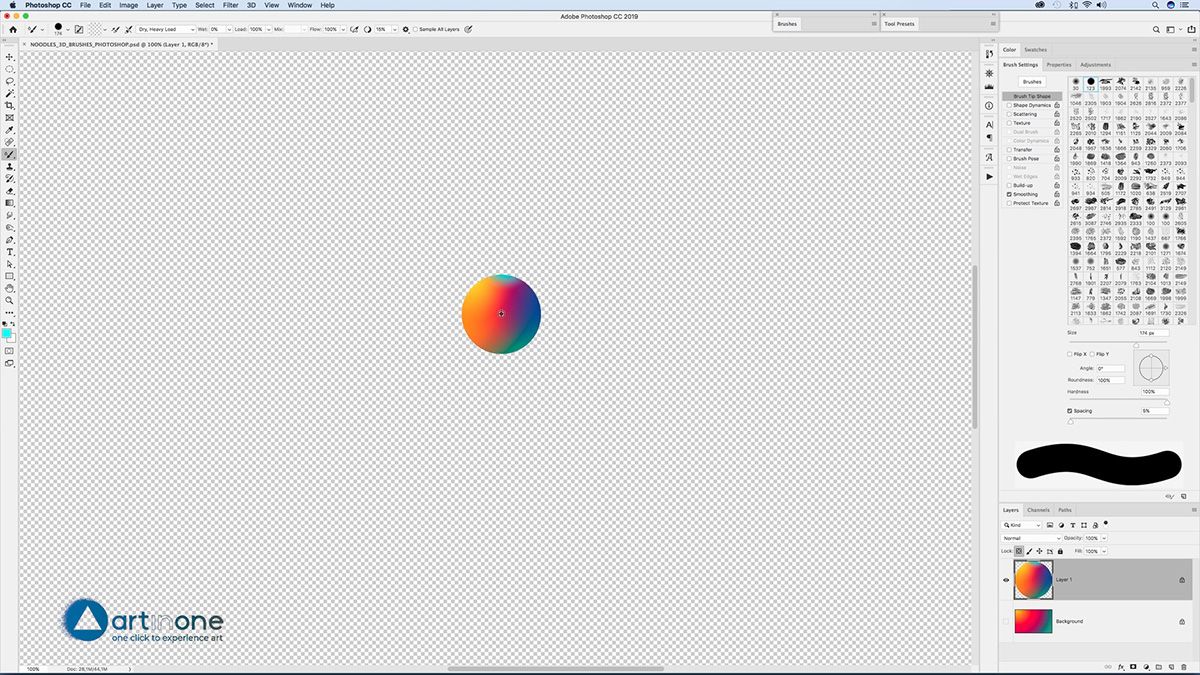
Create a New Layer, and with the Elliptical Marquee Tool, make a circle to the size you want your brush width to be, apply a Gradient with the same colours. Deselect from the Select> Deselect menu and in the layers window activate the Lock Transparent Pixels option, this allows you to paint without leaving halos on the circumference, since the rest is transparent.
Change the colours using the the Gradient Picker for the second Foreground to Transparent gradient to add some extra colour to the edges of the circle; holding the Alt turns the cursor into an Eyedropper, select the orange colour to add a little more by dragging from the outside to the inside of the circumference, add a little blue, select a dark blue, and add a little light with yellow and emerald on top.
Defining the Mixed Adobe Photoshop Brushes
Select the Mixer Brush tool, which is inside the Brush tool group, select from the Properties bar a regular brush from the General Brushes folder; With the Current Brush options click Load options and uncheck the option Load Solid Colours Only and check Clear Brush; In Mixer Brush properties select Dry, Heavy Load leaving the parameters it proposes and uncheck the Sample All Layers option and increase the Set Smoothing to 15%.
Locate the centre of the circle, if you do not see the diameter of the brush it is because Caps Lock is activated, deactivate it. Match the bush diameter using a key combination Ctrl / Alt + left-click, on PC drag is with the right button, and drag horizontally to adjust the diameter of the brush.
Dragging vertically while pressing Ctrl / Alt adjusts the Hardness of the brush. It is better to start with a small diameter and increase the diameter to the perfect size.
Once it’s the same size, with the Alt key pressed from the centre of the circle click to define what you are going to use to paint.
Create a New Layer and paint with this defined brush tip, to adjust the spacing of the brush for a much smoother brushstroke; go to the Brush Settings window and in the Brush Tip Shape options at the bottom, set the Spacing to 2%, at 1% the brushstroke have tiny spaces that interrupt the flow.
Creating the Lettering
To test the look, select all using Ctrl / Cmd + A, hide the selection using Ctrl / Cmd + H and delete with the backspace or Delete key. Turn on the Background layer to see how the brushstroke integrates with the background.
Select the Pen tool; in the Properties make sure the Path option is selected. To better see the Path, turn off the Background layer. Add anchor points and hold to drag and remove the direction points and create curvature in the shape.
To move and modify the anchor points or direction points hold down the Ctrl / Cmd key and hold down left-click while make the adjustments releasing only when you are satisfied with the modification, to hide the direction points or remove them, hold Alt to use the cursor and left-click on the anchor point to hide the direction points or click on the anchor point and drag away to create direction points.

Applying the 3D Noodle to the Lettering with Adobe Photoshop Brushes
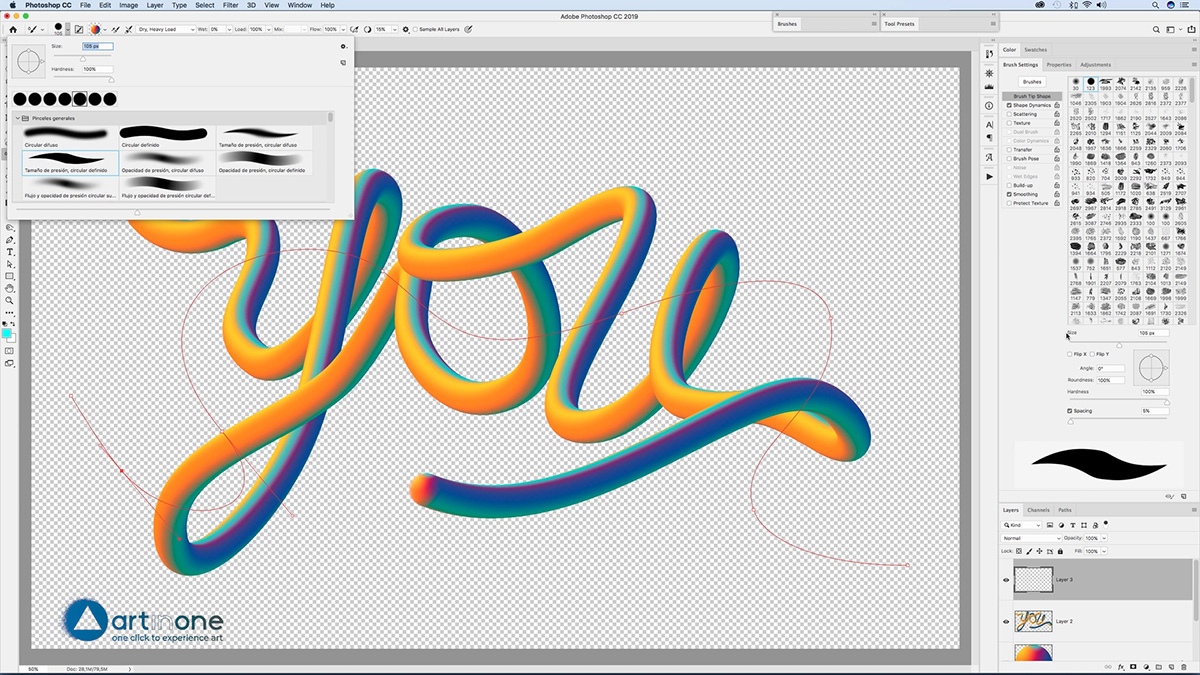
Once finished with the lettering, open the Path Window and double click the Work Path to save the path and with the Alt key pressed select the option Stroke Path With Brush so that the dialog box appears and select the Tool with which to outline the path.
Modify the shape of the shape of the O, Ctrl / Cmd + Z to go back and also the brush contouring direction.
To change the direction of the path traced, the path needs to finish on one end or the other. To switch these ends, activate the path and select the anchor point from where you want the trace to continue and thus finish. In Pen tool, hold down the Ctrl / Cmd key and mark the end point and continue adding points.

Activate the background and adjust the size with Ctrl / Cmd + T to integrate it.
To add another tube that intersects the word, with varied thickness at its ends and therefore giving it more three-dimensionality.
Turn off Background again, generate a new tube path using the Pen tool, once complete create a New Layer, apply a slightly smaller diameter to the brush and select a brush with Hard Round Pressure Size. From the Paths window with the Alt key pressed, select the Stroke Path; marking the option of the Simulate Pressure in the dialog box.
Intersecting the Lettering
In the Layers window add a Layer Mask to the layer with the new tube; load tube text layer selection by clicking the thumbnail while pressing Ctrl / Cmd key and hide the selection to better see the edges by pressing Ctrl / Cmd + H. Paint in the mask using a black brush with defined edges, hiding parts of the new tube to generate the effect that it flows in and out of the word.
Activate the Background layer and apply a different a colouring to the tube that intersects the word; in the layers window from the icon with black and white circle, create a Adjustment Gradient Map Layer; in the Properties of the layers window select the Clipping Mask option, and choose a gradient combination that contrasts with the colours in the word tube. I have it ready.
If you liked this tutorial surely you will like this Creating an Andy Warhol Photocopy and Screen Printing Real Effects with Photoshop.

Vídeo tutorial Create Noodles 3D with Adobe Photoshop Brushes
Translate the captions to any language. Activate Captions. In the configuration icon, Captions> Automatically Translate and select your language.
Sign up to download the file!